How I Secured My App with Asgardeo (And Why You Should Too)
Authentication is one of those things every app needs — and one of those things most developers (especially students like me) try to avoid building properly.
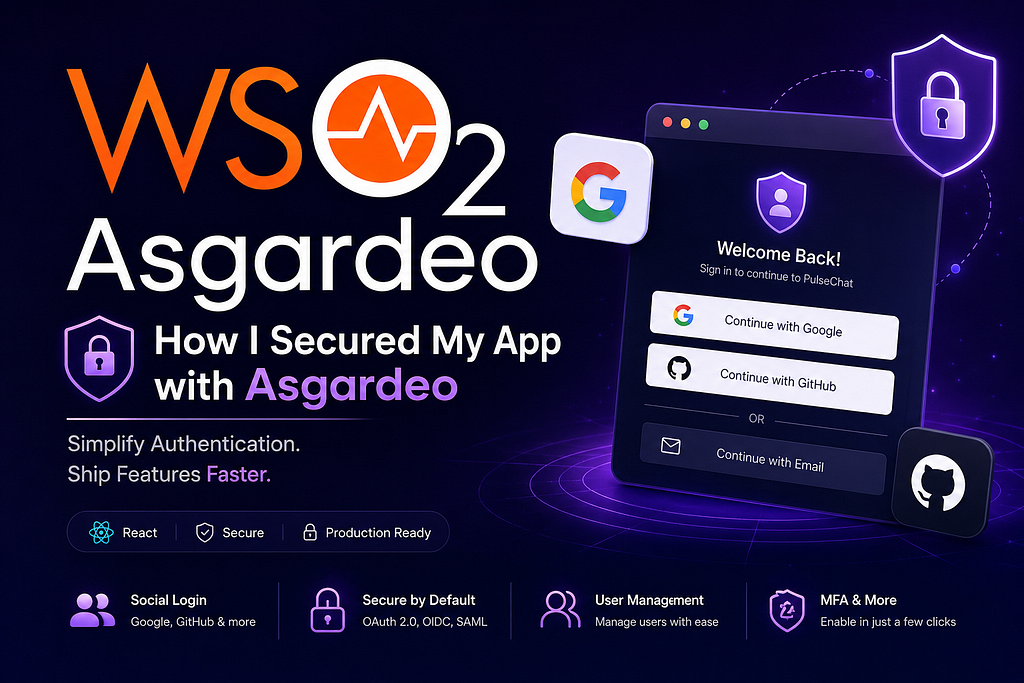
When I was building PulseChat — a real-time chat application — I hit the classic wall. Users needed to sign in. I needed Google and GitHub login, plus email/password registration. And I absolutely did not want to spend weeks managing OAuth flows, storing tokens, and praying my session logic was secure.
That’s when I found Asgardeo. And honestly? It changed how I think about auth forever.
What Even Is Asgardeo?
Asgardeo is a Customer Identity and Access Management (CIAM) platform built by WSO2. Big words — let me simplify.
You know how your app needs users to:
- Sign in / Sign up
- Use Google or GitHub to log in
- Reset passwords
- Stay logged in securely across sessions
Normally, you’d build all of that yourself. Asgardeo does all of it for you — hosted, managed, and production-ready.
Think of it like Firebase Auth or Auth0, but with a really powerful free tier and a dashboard that actually makes sense.
Asgardeo = your entire auth layer, without writing the auth layer.
It’s built on open standards — OAuth 2.0, OpenID Connect (OIDC), and SAML — so it’s not some proprietary lock-in. It’s the same standards big companies use.
You don’t need to understand OAuth deeply to use it. But using a tool like Asgardeo teaches you what’s actually happening under the hood — faster than any tutorial.
Why I Chose It for PulseChat
PulseChat needed the full auth stack — email/password registration, Google login, and GitHub login. Simple requirements, painful to implement manually.
Here’s what I didn’t want to do:
- Store Google client secrets in .env files and hope I never leak them
- Write custom callback handlers
- Deal with refresh token logic at 2am
Here’s what Asgardeo let me do instead:
- Create a free organization in 2 minutes
- Configure Google and GitHub as Identity Providers through a UI
- Set up email/password registration with zero backend code
- Drop an SDK into my React app and have a working login page in under an hour
That’s not an exaggeration. The first time it actually worked — Google popup, redirect back to my app, user data in the console — I genuinely felt like a senior dev for a moment.
Using managed identity services isn’t “cheating.” It’s how real production apps are built. Your job is to ship features, not reinvent auth.
Core Concepts (The Minimum You Need to Know)
Before jumping into code, three quick concepts:
Organization — Your Asgardeo tenant. Everything lives inside here: your apps, your users, your identity providers.
Application — A registered app inside your org. You create one per project. Asgardeo gives it a Client ID and Client Secret.
Identity Provider (IDP) — An external login source. Google, GitHub, Microsoft — these are IDPs. You connect them to your Asgardeo org.
That’s it. You don’t need more theory right now. Let’s set it up.
Step 1: Create Your Asgardeo Organization
- Go to asgardeo.io and sign up for free
- Create a new Organization (give it your project name — e.g., gemellery)
- You’ll land on the Asgardeo Console dashboard
You’re now the admin of your own identity tenant. That’s kind of cool.
Step 2: Register Your Application
- In the Console, go to Applications → New Application
- Choose Single Page Application (for React/Next.js)
- Give it a name — e.g., PulseChat Frontend
- Set the Authorized Redirect URLs:
- http://localhost:3000 for dev
- Your production URL for prod
5. Hit Register
You’ll get a Client ID — save this. You’ll need it in your React app.
Step 3: Add Google as an Identity Provider
This is where it gets fun.
In Google Cloud Console:
- Go to console.cloud.google.com
- Create a new project (or use existing)
- Navigate to APIs & Services → Credentials
- Create an OAuth 2.0 Client ID → Web Application
- Add this to Authorized Redirect URIs:
https://api.asgardeo.io/t/<your-org>/oauth2/token6. Copy your Client ID and Client Secret
Back in Asgardeo Console:
- Go to Connections → New Connection
- Choose Google
- Paste in your Google Client ID and Secret
- Save
- Repeat the same process for GitHub — create a GitHub OAuth App at github.com/settings/developers, grab the credentials, and add a GitHub connection in Asgardeo
Now go back to your Application → Sign-in Method tab → add Google, GitHub, and Username & Password as sign-in options.
Asgardeo acts as the middleman between your app and Google. Your app only ever talks to Asgardeo — it never handles Google’s tokens directly. Much cleaner architecture.
Step 4: Integrate the SDK into Your React App
Install the Asgardeo React SDK:
npm install @asgardeo/auth-reactWrap your app with AuthProvider in main.jsx or _app.tsx:
import { AuthProvider } from "@asgardeo/auth-react";

const authConfig = {
  signInRedirectURL: "http://localhost:3000",
  signOutRedirectURL: "http://localhost:3000",
  clientID: "YOUR_CLIENT_ID_HERE",
  baseUrl: "https://api.asgardeo.io/t/YOUR_ORG_NAME",
  scope: ["openid", "profile", "email"],
};

root.render(
  <AuthProvider config={authConfig}>
    <App />
  </AuthProvider>
);
Now anywhere in your app, use the useAuthContext hook:
import { useAuthContext } from "@asgardeo/auth-react";

function Navbar() {
  const { state, signIn, signOut } = useAuthContext();

  return (
    <nav>
      {state.isAuthenticated ? (
        <>
          <span>Welcome, {state.displayName} 👋</span>
          <button onClick={() => signOut()}>Sign Out</button>
        </>
      ) : (
        <button onClick={() => signIn()}>Sign In with Google</button>
      )}
    </nav>
  );
}
That’s a fully functional, Google-authenticated login. No custom OAuth handler. No token storage logic. No session headaches.
Lesson: state.isAuthenticated, state.displayName, state.email — Asgardeo gives you all the user context you need right out of the box. You just consume it.
What Happened When I Actually Used This in PulseChat
The moment I got this working in PulseChat, a few things clicked for me:
- Security is a solved problem at this level. Tokens are managed by Asgardeo. I’m not storing passwords. I’m not handling refresh logic. The risk surface dropped dramatically.
- The user experience is immediately professional. That Google popup, the redirect, the “Welcome, Akil” — it felt like a real product. Not a CS assignment.
- I understood OAuth better by not implementing it. Watching the flow through Asgardeo’s logs — the authorization code, the token exchange — taught me more than reading the RFC ever would have.
Sometimes the best way to learn a complex protocol is to use a well-built abstraction first, then peek under the hood once you understand what it’s doing.
What’s Next After the Basics
Once you’ve got login working, Asgardeo has a lot more to offer:
- User Management — See all your users, their login history, block accounts from the Console
- Multi-Factor Authentication (MFA) — Add TOTP or email OTP in literally 2 clicks
- Organizations — Build B2B apps where each customer has their own isolated tenant
- Branding — Customize the login page to match your app’s design
For most student projects and early-stage apps, you won’t need all of this. But it’s good to know it’s there when you scale.
Should You Use Asgardeo?
If you’re building a React, Next.js, or any modern web app and you need auth — yes, you should at least try it.
The free tier is generous. The SDK is clean. The Console is genuinely intuitive. And the fact that it’s built on open standards means you’re not locked in.
For PulseChat, it saved me days of work and gave me a more secure result than I could have built myself. That’s the trade I’ll take every time.
That’s it for this one. If you’re building something and need auth sorted fast — give Asgardeo a shot. Drop a comment if you get stuck, I’ll try to help.
~Akil Dikshan~