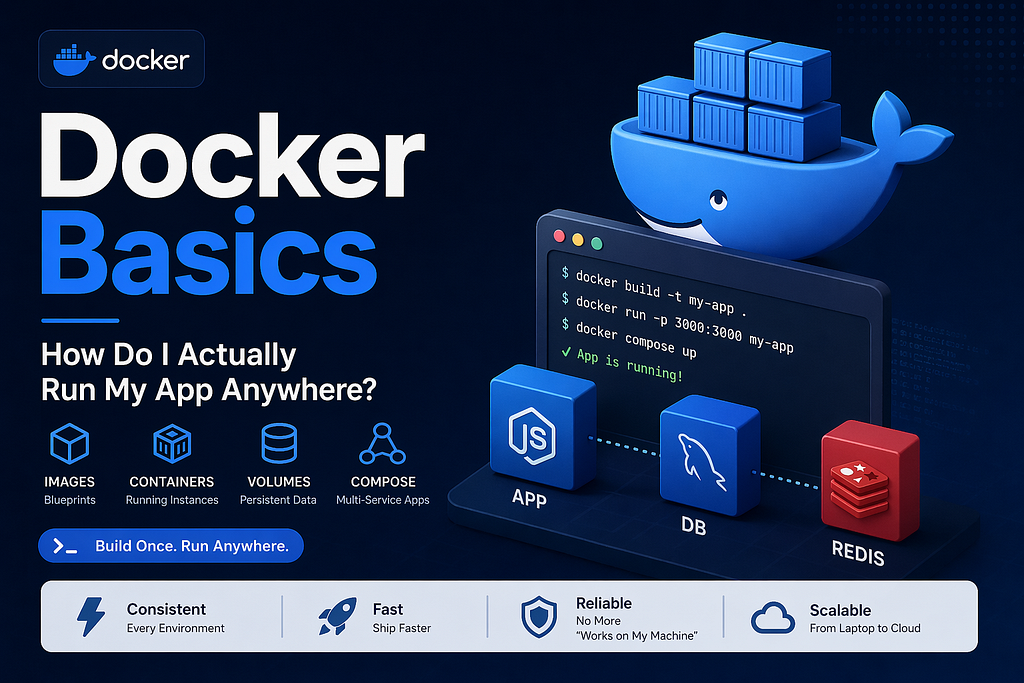
Docker Basics: How Do I Actually Run My App Anywhere?
I was confused by “images”, “containers”, and “volumes” too. Here’s how I finally made sense of Docker — and how you can containerize your first app today.
When I first heard about Docker, I assumed it was something you only needed when you had a serious production setup with a dedicated DevOps team. Turns out it’s one of the most practical tools a student can learn — and once you understand it, you’ll wonder how you survived without it.
In this post I’ll walk you through exactly what Docker is, how it works, and how to actually use it — from writing your first Dockerfile to running a multi-service app with one command.
What even is Docker?
Docker is a tool that lets you package your application and everything it needs to run — the runtime, the dependencies, the config — into a single unit called a container. That container runs the same way on your laptop, your teammate’s machine, or a cloud server.
You know that moment when your code works perfectly on your machine but breaks the second someone else clones it? Docker eliminates that. Completely.
Two terms you need to understand before anything else:
Image — A blueprint for your container. It defines the OS, runtime, and your app code. Think of it like a class in OOP.
Container — A running instance of an image. Like an object is an instance of a class. You can run multiple containers from the same image simultaneously.
Lesson: A container isn’t a virtual machine. It doesn’t run a full OS on top of your OS. It shares your machine’s kernel and only packages what your app actually needs. That’s why containers start in seconds, not minutes.
How do I create a Docker image?
You define your image with a Dockerfile — a plain text file that tells Docker how to build it, step by step.
Here’s a Dockerfile for a simple Node.js app:
# Start from an official Node.js base image
FROM node:20-alpine

# Set the working directory inside the container
WORKDIR /app

# Copy dependency files first (layer caching)
COPY package*.json ./

# Install dependencies
RUN npm install

# Copy the rest of your app
COPY . .

# Expose the port your app runs on
EXPOSE 3000

# Command to start the app
CMD ["node", "index.js"]
Then build it:
docker build -t my-app .The -t flag gives your image a name. The . tells Docker to look for the Dockerfile in the current directory.
Lesson: Docker builds images in layers. Each instruction in your Dockerfile is a layer, and Docker caches them. That’s why you copy package.json before your app code — if your dependencies haven't changed, Docker skips reinstalling them. This makes rebuilds dramatically faster.
How do I actually run it?
docker run -p 3000:3000 my-appThat’s it. Your app is running inside a container.
The -p 3000:3000 part maps port 3000 on your machine to port 3000 inside the container. Without this, the container is isolated and nothing outside can reach it.
A few other commands you’ll use constantly:
# See all running containers
docker ps

# Stop a container
docker stop <container_id>

# See all your images
docker images

# Remove an image
docker rmi my-app

# Pull an existing image from Docker Hub
docker pull node:20-alpine
Lesson: When you stop a container, anything written to its filesystem is gone. Containers are ephemeral by design. If you need data to persist — database files, uploaded images — you need volumes. More on that in a minute.
What about databases and multi-service apps?
Real apps aren’t just one process. You’ve got a backend, a database, maybe Redis. Running and wiring them up manually is painful. That’s what Docker Compose solves.
You define all your services in a single docker-compose.yml file:
version: '3.8'

services:
  app:
    build: .
    ports:
      - "3000:3000"
    depends_on:
      - db
    environment:
      - DB_HOST=db
      - DB_PASSWORD=secret

  db:
    image: mysql:8
    environment:
      MYSQL_ROOT_PASSWORD: secret
      MYSQL_DATABASE: myapp
    volumes:
      - db_data:/var/lib/mysql

volumes:
  db_data:
Start everything:
docker compose upTear it all down:
docker compose downLesson: Notice db_data under volumes. This is how you persist database data. Without it, every time you restart your MySQL container, the database starts empty. The volume stores the data on your host machine separately from the container's lifecycle.
What’s the URL structure for containers?
When services talk to each other inside Docker Compose, they use the service name as the hostname — not localhost.
So in the example above, your Node.js app connects to MySQL like this:
mysql://root:secret@db:3306/myappNot localhost:3306. The service name db is the hostname. Docker handles the DNS internally.
This tripped me up the first time. My app kept timing out trying to connect to the database because I had localhost hardcoded everywhere.
Lesson: Inside Docker Compose, services talk to each other by service name. localhost refers to the container itself, not other services.
What I’d do next
Once you’re comfortable with the basics, here’s the natural progression:
1. Add Docker to an existing project. Take an app you’ve already built and write a Dockerfile for it. Getting it running in a container will teach you more than any tutorial.
2. Learn multi-stage builds. You can use one stage to build your app and a separate, smaller stage to run it. Production images end up a fraction of the size.
3. Push to Docker Hub. Once you have a working image, push it to Docker Hub. Then you can pull it on any machine and run it with one command — no setup required.
4. Connect Docker to your CI/CD pipeline. When I set up GitHub Actions for ElectroMart, Docker was what made deployments consistent. The same container that passed tests locally is exactly what gets deployed.
Final thoughts
Docker felt like overkill before I actually used it. Once I did, I realised it solves a problem I had been fighting my entire time learning development — the gap between “works on my machine” and “works everywhere.”
If you’ve already built a Node.js app, writing a Dockerfile for it is the most natural next step. You’ll have it containerized in an afternoon.
Start with docker build and docker run. Then add Compose when you bring in a database. The concepts stack cleanly and everything will start to click fast.
Drop a comment if you get stuck, or connect with me on LinkedIn. Always happy to help a fellow student figure this stuff out.
Thanks for reading.
~Akil Dikshan~